
2024. 8. 10. 12:20
파이썬 GUI
728x90
반응형
파이썬 GUI로 간편 계산기를 만들어 보겠다.
파이썬 GUI로 전자 계산기를 만들기 위해서는 tkinter 라이브러리를 활용할 수 있다.
tkinter 라이브러리는 파이썬 표준 라이브러리로 간단한 GUI 애플리케이션을 만들 때 자주 사용된다.
그럼 이제부터 파이썬 GUI로 계산기를 만드는 과정을 설명하겠다.
먼저 Visual Studio Code를 실행하고 새로운 파일을 하나 만든다.
파일 이름을 calculator_GUI.py로 정하고 저장한 다음 다음과 같이 코드를 작성한다.
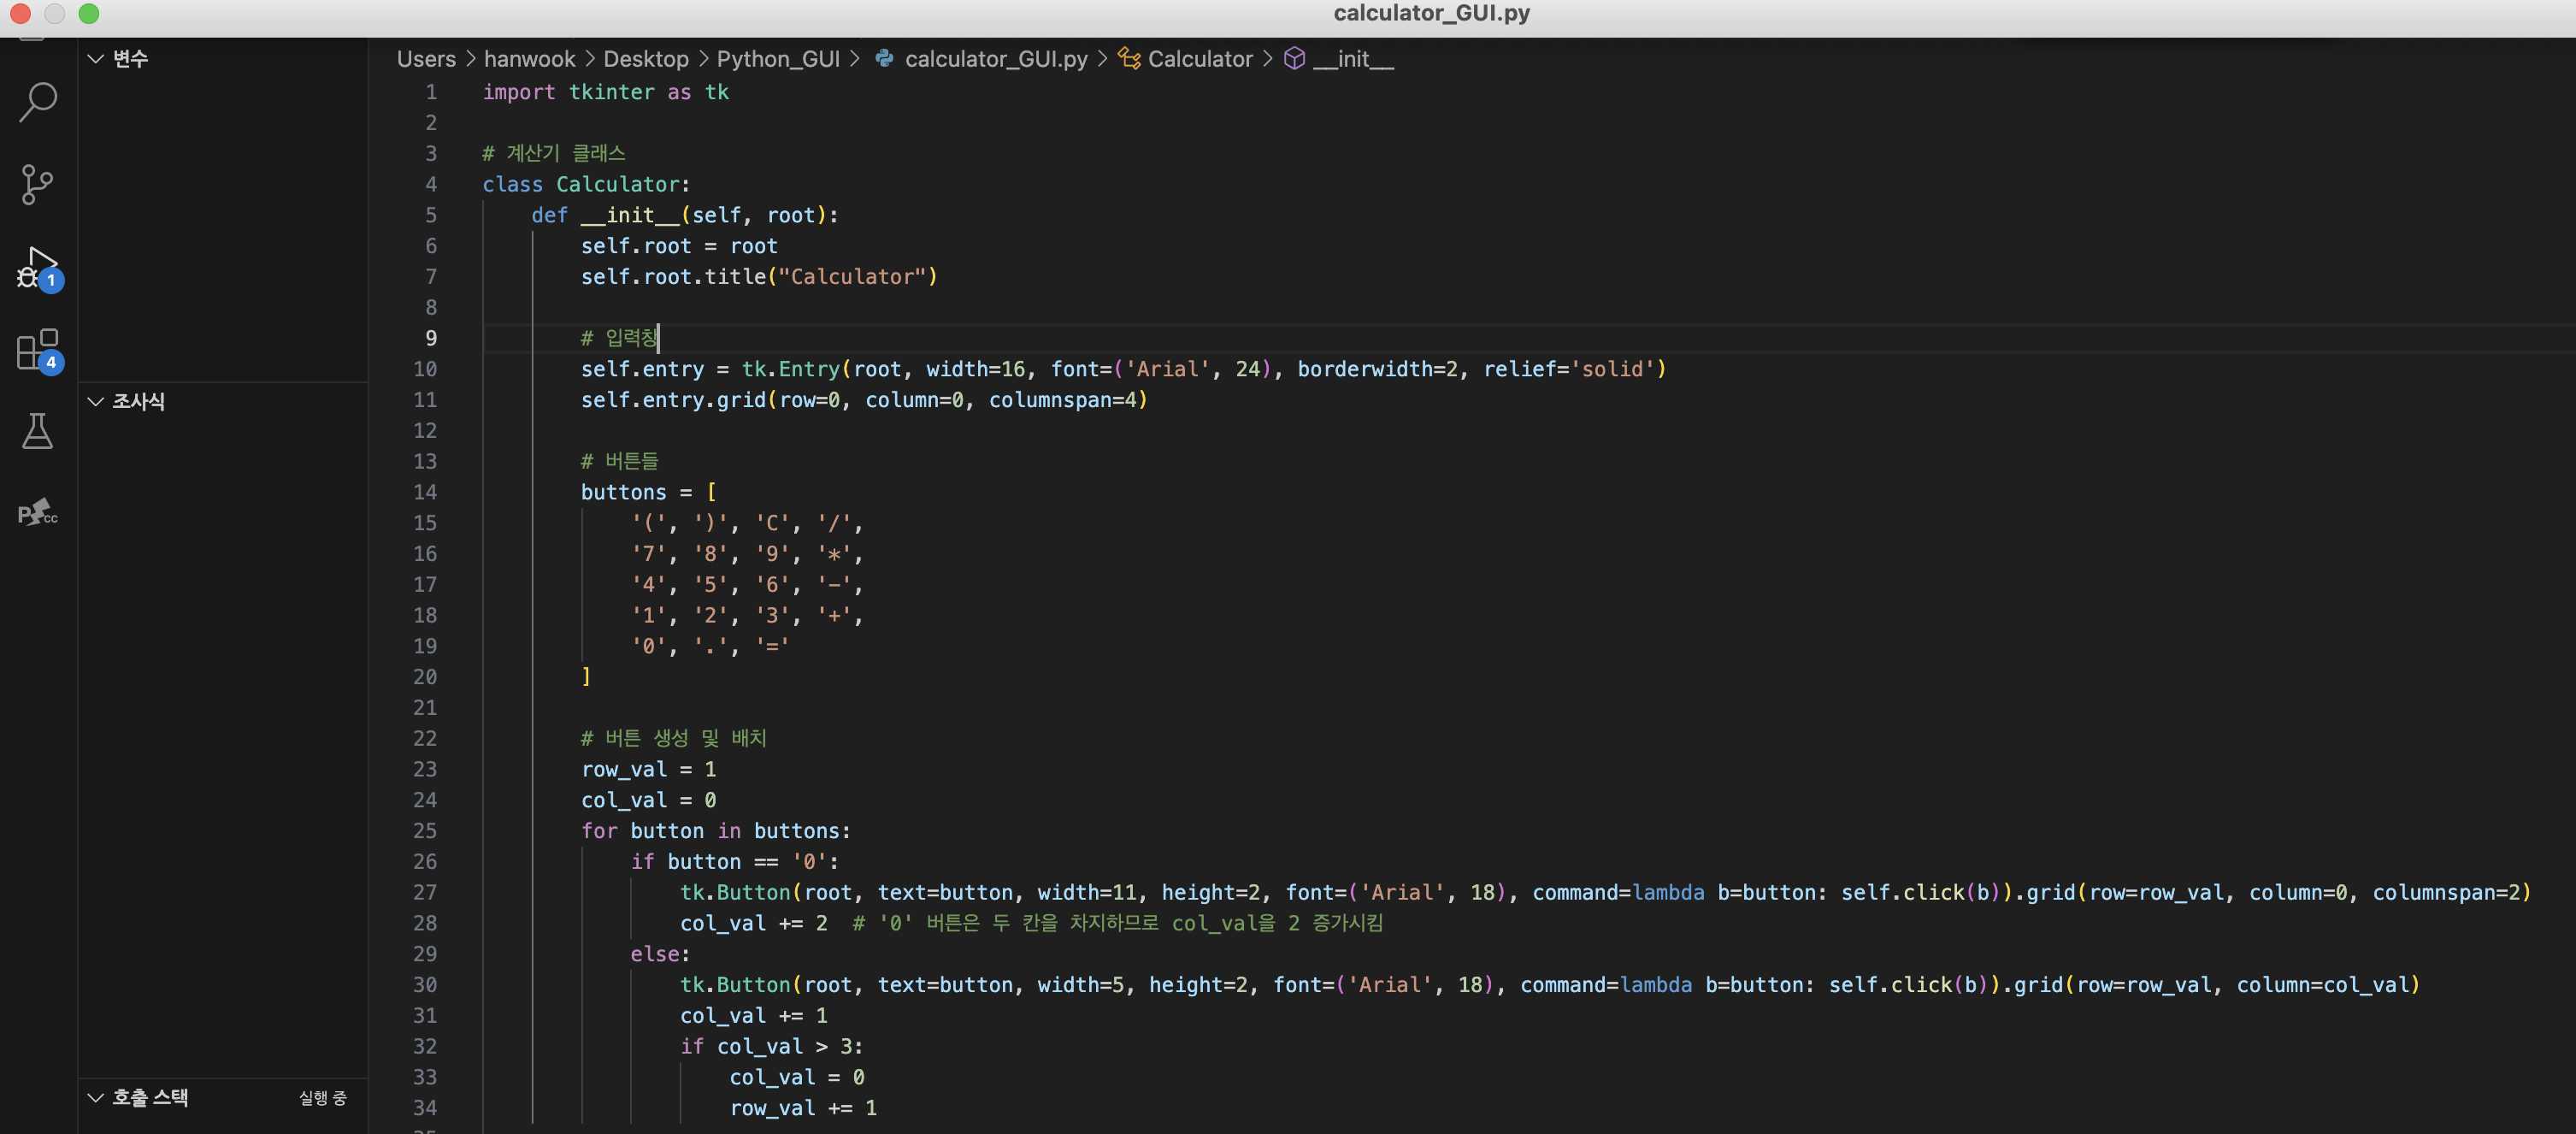
아래는 tkinter 라이브러리를 사용하여 전자계산기를 만든 파이썬 코드이다.
전체 코드 :
import tkinter as tk
# 계산기 클래스
class Calculator:
def __init__(self, root):
self.root = root
self.root.title("전자 계산기")
# 입력창
self.entry = tk.Entry(root, width=16, font=('Arial', 24), borderwidth=2, relief='solid')
self.entry.grid(row=0, column=0, columnspan=4)
# 버튼들
buttons = [
'(', ')', 'C', '/',
'7', '8', '9', '*',
'4', '5', '6', '-',
'1', '2', '3', '+',
'0', '.', '='
]
# 버튼 생성 및 배치
row_val = 1
col_val = 0
for button in buttons:
if button == '0':
tk.Button(root, text=button, width=11, height=2, font=('Arial', 18), command=lambda b=button: self.click(b)).grid(row=row_val, column=0, columnspan=2)
col_val += 2 # '0' 버튼은 두 칸을 차지하므로 col_val을 2 증가시킴
else:
tk.Button(root, text=button, width=5, height=2, font=('Arial', 18), command=lambda b=button: self.click(b)).grid(row=row_val, column=col_val)
col_val += 1
if col_val > 3:
col_val = 0
row_val += 1
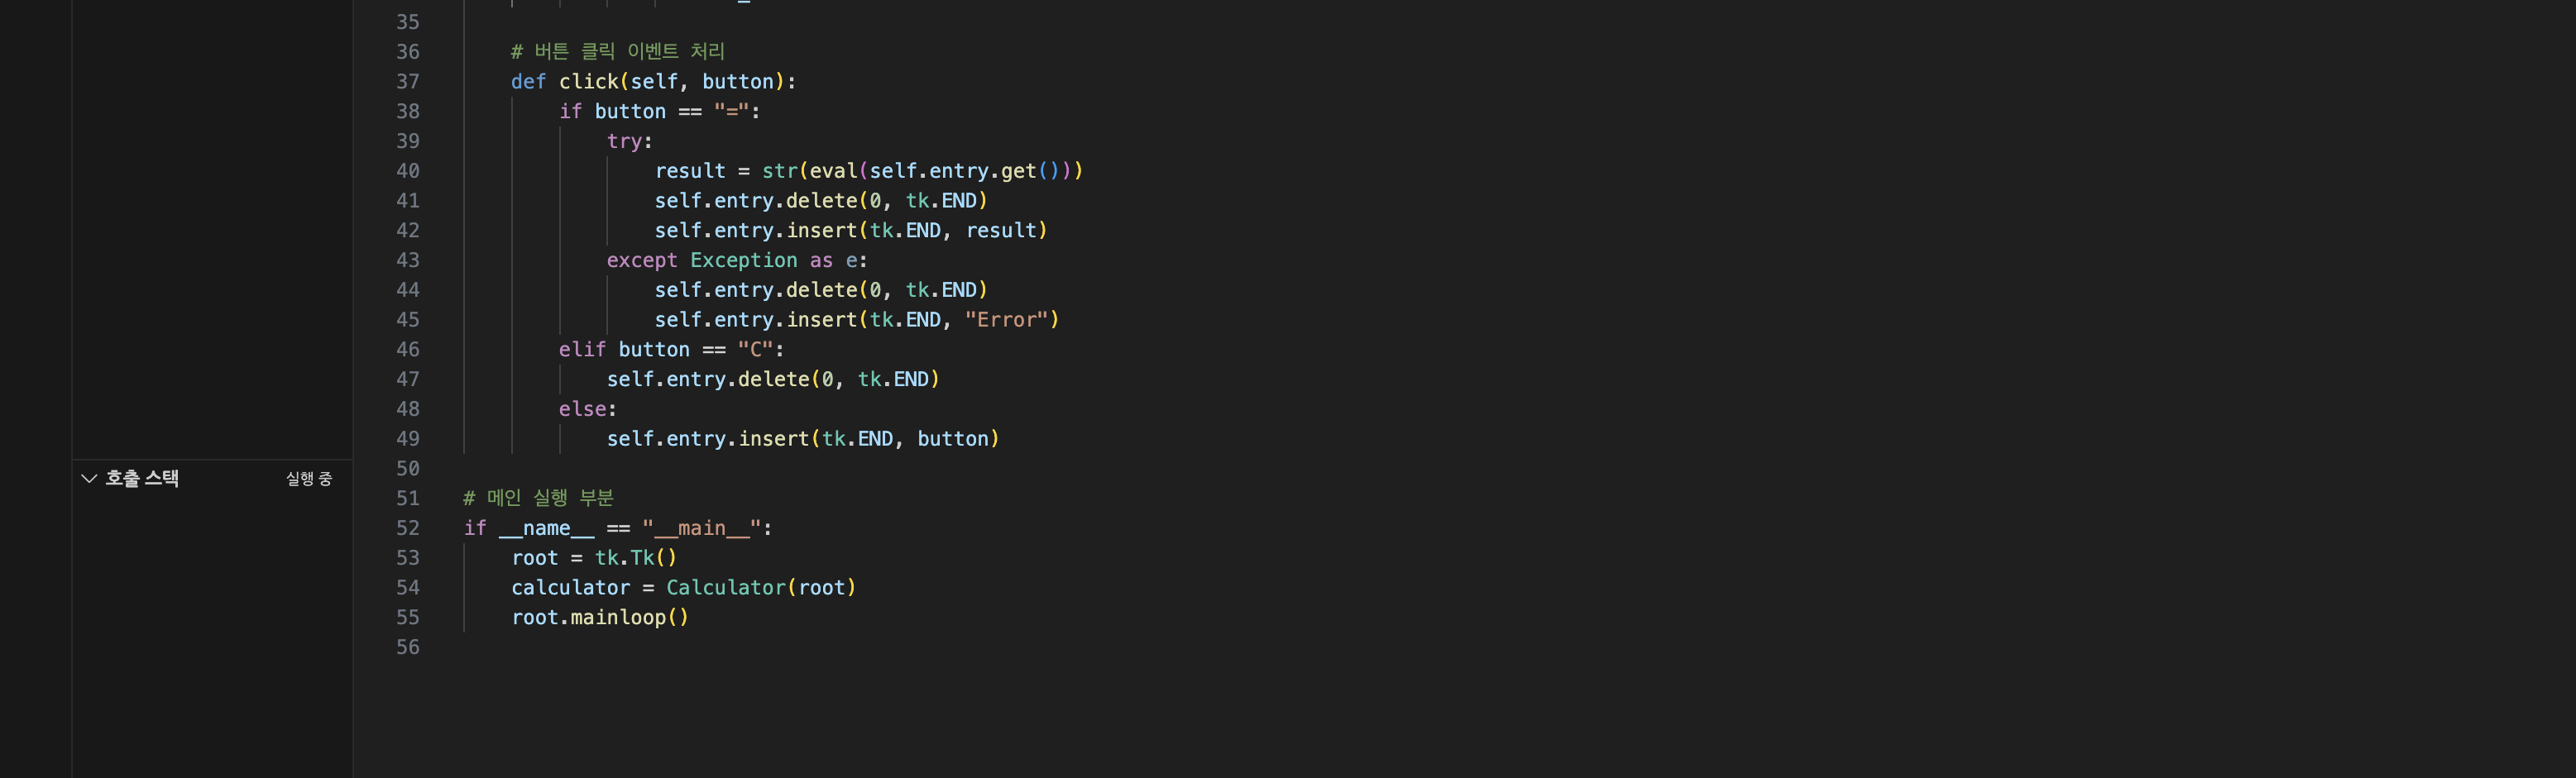
# 버튼 클릭 이벤트 처리
def click(self, button):
if button == "=":
try:
result = str(eval(self.entry.get()))
self.entry.delete(0, tk.END)
self.entry.insert(tk.END, result)
except Exception as e:
self.entry.delete(0, tk.END)
self.entry.insert(tk.END, "Error")
elif button == "C":
self.entry.delete(0, tk.END)
else:
self.entry.insert(tk.END, button)
# 메인 실행 부분
if __name__ == "__main__":
root = tk.Tk()
calculator = Calculator(root)
root.mainloop()
코드 설명 :
1. Calculator 클래스 : 계산기의 전체 구조를 관리하는 클래스이다.
. '__init__' 메서드에서 버튼과 입력창을 설정한다.
. 'click' 메서드는 버튼을 눌렀을 때 실행되는 동작을 정의한다.
# 계산기 클래스
class Calculator:
    def __init__(self, root):
        self.root = root
        self.root.title("Calculator")
2. 입력창 : 사용자가 입력한 계산식을 표시한다.
# 입력창
        self.entry = tk.Entry(root, width=16, font=('Arial', 24), borderwidth=2, relief='solid')
        self.entry.grid(row=0, column=0, columnspan=4)
여기서는 계산기 디자인의 너비, 폰트, 행, 열 등을 설정한다.
3. 버튼들 : 숫자와 연산자를 포함한 계산기의 버튼을 생성한다. 각 버튼은 'click' 메서드에 연결되어 클릭 시 동작을 수행한다.
# 버튼들
        buttons = [
            '(', ')', 'C', '/',
            '7', '8', '9', '*',
            '4', '5', '6', '-',
            '1', '2', '3', '+',
            '0', '.', '='
        ]

        # 버튼 생성 및 배치
        row_val = 1
        col_val = 0
        for button in buttons:
            if button == '0':
                tk.Button(root, text=button, width=11, height=2, font=('Arial', 18), command=lambda b=button: self.click(b)).grid(row=row_val, column=0, columnspan=2)
                col_val += 2  # '0' 버튼은 두 칸을 차지하므로 col_val을 2 증가시킴
            else:
                tk.Button(root, text=button, width=5, height=2, font=('Arial', 18), command=lambda b=button: self.click(b)).grid(row=row_val, column=col_val)
                col_val += 1
                if col_val > 3:
                    col_val = 0
                    row_val += 1
4. 연산처리 : '=' 버튼을 눌렀을 때 'eval' 함수를 사용하여 입력된 수식을 계산한다.
 # 버튼 클릭 이벤트 처리
    def click(self, button):
        if button == "=":
            try:
                result = str(eval(self.entry.get()))
                self.entry.delete(0, tk.END)
                self.entry.insert(tk.END, result)
            except Exception as e:
                self.entry.delete(0, tk.END)
                self.entry.insert(tk.END, "Error")
        elif button == "C":
            self.entry.delete(0, tk.END)
        else:
            self.entry.insert(tk.END, button)
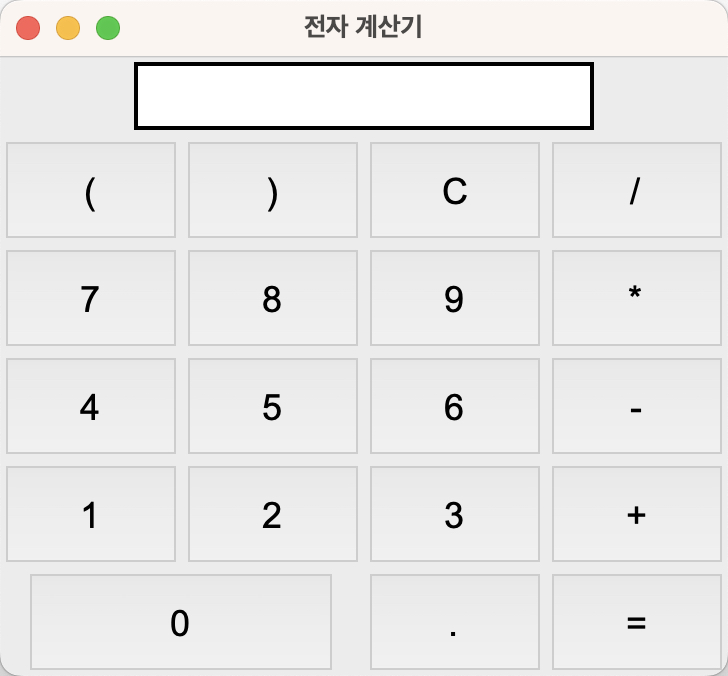
위와 같이 코드를 전부 작성한 다음 메뉴 실행에서 디버깅을 시작한다.
그러면 다음과 같이 GUI 계산기가 만들어 진것을 볼 수 있다.
728x90
반응형
'파이썬 GUI' 카테고리의 다른 글
| 파이썬 GUI 파일을 독립형 실행 파일로 만드는 방법 (0) | 2024.08.10 |
|---|---|
| (파이썬 GUI) 캔버스 위젯 사용법 (0) | 2024.01.15 |
| (파이썬 GUI) GUI에 프로그레스바 추가하기 (0) | 2024.01.08 |
| (파이썬 GUI) 정보, 경고, 에러 메시지박스 생성하기 (0) | 2024.01.03 |
| (파이썬 GUI) 탭 위젯 만들기 (0) | 2024.01.02 |